October 08, 2026



Pebble art is the rare craft that rewards a complete beginner. You do not need to draw, paint or measure anything precisely. You need a flat surface, a pot of glue, and a handful of stones that already look a little like something. Most first pictures come together in an afternoon, and the finished piece is something you would happily hang on a wall or post to a friend.
What follows is the whole process, from a bag of stones on the kitchen table to a frame on the wall, in six steps. Work through them in order and your first picture will hold together properly rather than shedding stones onto the carpet a week later.
Pebble art usually goes wrong for two reasons: the wrong glue and the wrong backing. Sort both out before you start and the rest is straightforward.
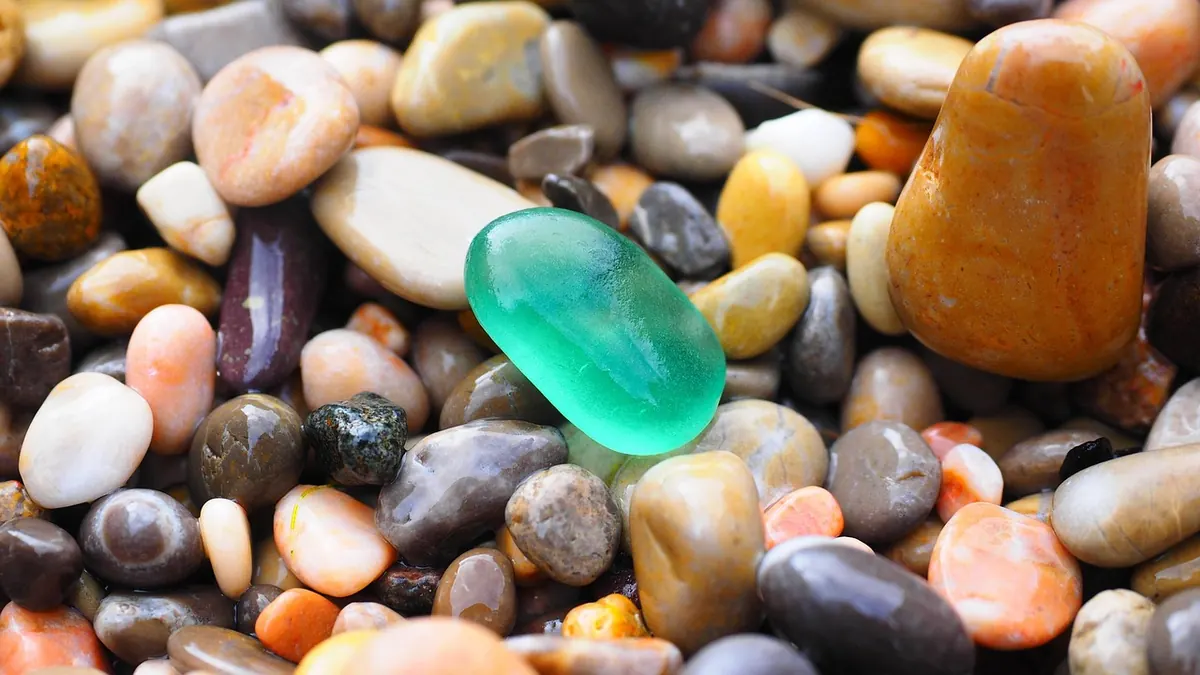
Look for stones with one flat face and a fairly even thickness. Flat stones sit down properly and do not rock on the board, which matters far more than shape. Mixed thickness is fine, and even useful for depth, but a stone that wobbles on the table will wobble in the frame too.
Smooth beach pebbles are ideal; avoid chalk, soft sandstone and anything that crumbles when you rub it. Shiny stones are harder to glue than matte ones, so give them a wash in warm water with a drop of washing-up liquid, then leave them to dry completely. Glue will not grip a wet stone.
Sort what you have collected into small piles by size and colour. Dark grey and black stones show up beautifully against a pale backing board, while cream and terracotta stones disappear into a light background. Contrast is what makes a design readable from across a room.
Beginners almost always choose a design that is too complicated. A picture works best with one clear focal point and a simple supporting element, and nothing else. These all look good in pebbles and need no artistic skill:
Draw your idea lightly in pencil on the backing board, at the size it will actually be. Give yourself a border of at least 2cm on every side, and decide where the horizon sits before you place anything. A pencil line you can erase is much easier to change than glue.
Place every stone on the board without any glue at all, then step back and look at it from a metre away. This is the step people skip, and it is the one that saves the most wasted effort. Check three things: does the shape read clearly, are the stones sitting flat, and are the gaps between them sensible?
Small gaps are fine and often look deliberate. What you want to avoid is a crammed arrangement where stones push against each other. When you are happy, take a quick photo on your phone so you can rebuild the layout if a stone rolls out of place. Then, if you like, dot a faint pencil mark around the outer stones to mark their positions.
Work from the background forwards. Glue the branch, the ground line or the hills first, then the main figure, then the smallest accent stones on top. Building in that order means you never have to reach across a wet stone to place another one.
Use a dot of glue rather than a generous blob, applied with a cocktail stick for small pieces. Press each stone down gently and hold it for twenty to thirty seconds before letting go. Work in batches of five or six stones, then stop and check your photo to make sure the layout has not drifted. Once a stone is set, leave it alone.
If a stone slides out of place, lift it off, wipe both surfaces clean and start again. Nudging a half-set pebble back into position usually smears glue across the backing board.
When everything is down, leave the board completely flat to cure for a full 24 hours. Not propped up, not leaning against the wall, and definitely not on a sofa cushion.
Choose a frame with enough depth for the pebbles to clear the glass, or leave the glass out altogether. Many pebble artists frame without glass because it suits the texture, and it avoids any chance of stones rubbing against it in transit. A box frame with 3cm or more of internal depth gives you room either way.
Mount the backing board inside the frame using double-sided tape or a thin line of PVA around the reverse edge, then secure it with the frame's own clips or small panel pins. Add self-adhesive bumpers to the bottom corners so the frame sits flat against the wall and does not mark the paint.
A finished pebble picture is heavier than it looks. Hang it from a proper hook and, in a plasterboard wall, use a fixing rated for the weight or screw into a timber stud. If you are unsure what your wall will hold, ask at a hardware shop before you drill.
Give the glue another full day after framing before you hang the picture upright. Once cured, the bond is strong; before that, gravity is your enemy.
Sealing is optional. A coat of matte varnish or PVA diluted one-to-one with water cuts down dust and stops small stones catching on sleeves. Test it first on a spare pebble, because sealant darkens some stones quite noticeably. If you prefer the natural finish, simply dust the picture with a soft dry brush now and then.
Write the date and a title on the back of the frame, and keep the finished piece out of strong direct sunlight, which fades the colour of some stones over time.
Almost every problem in pebble art has a simple fix. A stone that drops off after a week can be glued back on its own, with both surfaces cleaned and dried first. Visible dried glue can be picked away with a craft knife or hidden with a tiny pebble placed over it. If a large stone refuses to stay put, switch to a stronger clear adhesive designed for stone and ceramic rather than adding more PVA. And if the finished picture looks flat rather than interesting, the answer is usually more contrast: a darker backing board, a lighter main stone, or a second layer of very small stones for shadow.
Your first picture is really just a rehearsal. Keep the leftovers in a jar, because once you have made one bird on a branch, you will start seeing figures in every stone on the path.
Photo: Hans / Pixabay
A hive of pebble art and craft inspiration..
Copyright © 2026 Pebble Hive. All rights reserved. Pebble Hive.