October 08, 2026




A jar of pebbles collected in September can become a whole tree's worth of decorations by December. Painted stones hang well because they are heavy enough to sit straight, smooth enough to take fine brushwork, and cheap enough to make in batches with children on a wet Saturday afternoon. Here are ten makes worth trying, plus the hanging methods that keep them on the branch.
One tip before the paint comes out: choose pebbles with a flattish back. A stone that rests against the branch rather than swinging on its own axis looks tidier from across the room and will not spin every time somebody walks past the tree.
Beach and river pebbles are ideal, as are the bags of smooth gravel sold for plant pots. Look for stones with no cracks or flaky layers. Chalk and soft limestone crumble once they are painted, and slate splits along its grain, so leave those on the path.
Wash everything in warm soapy water, rinse well and leave to dry for a full day. Trapped moisture is the main reason painted pebbles flake a month later. Once dry, give each stone a base coat of white gesso or matte acrylic. Two thin coats beat one thick one, and the colour you paint on top will stay true.
Build them from two or three stones stacked and glued, or keep it simple with one round pebble and a painted body. White base, a dot of black for the eyes and buttons, and a scrap of orange for the carrot nose. A length of thin ribbon wrapped around the neck as a scarf hides the join where two stones meet.
Paint the back and head a soft brown-grey, then bring the red breast up in a rounded shape rather than a stripe. A black eye with a tiny white highlight stops the bird looking dull. Sit a smaller pebble beside the body as a wing if you want a bit of relief, and glue on an orange paper beak.
Oval pebbles suit penguins best. Gloss black for the back and head, a white belly patch, and small orange feet at the base. Add a narrow yellow-orange band at the neck for a rockhopper look, or a knitted scarf from a strip of felt.
A single pebble, face painted in a warm skin tone, beard left as bare stone or filled in with white. Add the hat as a red triangle with a white trim and a small pom-pom glued at the tip. Keep the eyes as simple curved lines; too much detail and the face reads as a smudge at arm's length.
Teardrop-shaped pebbles make neat angel bodies. Paint them cream or white with a gold sash, then add wings cut from stiff card or foil. A loop of gold wire bent into a halo does double duty as the hanging loop, which saves you gluing a separate fixing.
Press a star-shaped sticker or a piece of masking tape onto a flat pebble, paint the whole stone gold, then peel it away. Alternatively, glue five small stones into a star outline and paint the finished shape. Both look good against dark green branches.
Three or four stones of decreasing size, glued into a pyramid, painted green. A zigzag of white along the bottom edge of each stone reads as snow, and a few tiny beads stand in for baubles. These are heavier than the rest, so treat them as display pieces for a shelf or the deepest branches.
Any smooth round pebble can pass as a bauble. Paint a solid colour — deep red, forest green, midnight blue — then add a gold stripe, a band of dots or a simple swirl with a fine brush. A coat of gloss varnish gives the shine that makes them convincing.
Paint a rounded pebble brown for the face, leaving room for a red nose at the tip. Antlers can be two small forked twigs glued to the top, or drawn on with a fine brush. Twigs look better, but drill or glue them properly — a reindeer that loses an antler on Christmas Eve is a small tragedy.
Glue three or four tiny green pebbles onto a short length of ribbon, add three red bead berries, and finish with a small bow. These work well as gift tags after the tree comes down, so make a few extra.
Weight is the thing to plan for. A decorated pebble is heavier than a glass bauble of the same size, so the fixing matters as much as the paint.
On a real tree, hook the loop over a sturdy branch and let the pebble rest against the needles so the branch takes the weight rather than the hook. On an artificial tree, the inner branches are stronger than the tips; hang heavier stones close to the trunk and keep the light ones at the edges. Keep decorations away from hot fairy lights and open flames, and always put the heaviest pieces low down so a small tree cannot tip.
Give every finished pebble two thin coats of varnish and let it cure somewhere dust-free. Matte varnish suits the robins and reindeer; gloss makes the baubles and penguins shine. If a piece is going on a front door wreath rather than the tree, use exterior varnish and galvanised wire, and bring it in during storms.
Store the decorations wrapped in tissue in a lidded tin, not a cardboard box in the shed. Ribbon fades and glue softens in damp cold, so a check in November is wise: re-knot loose loops, touch up chipped paint with the same acrylics, and re-varnish anything that has spent a year outside. Handled that way, a handful of beach pebbles will see you through many Christmases.
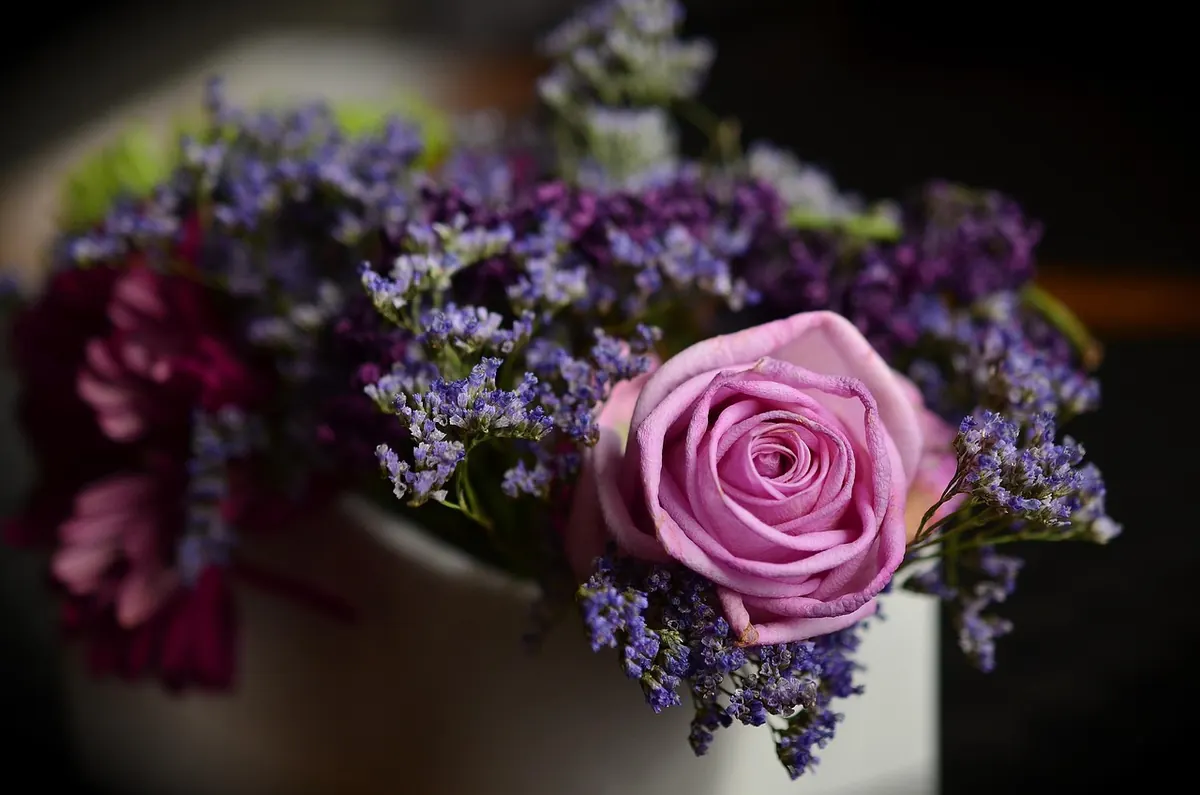
Photo: Albertfotofilms / Pixabay
A hive of pebble art and craft inspiration..
Copyright © 2026 Pebble Hive. All rights reserved. Pebble Hive.