October 08, 2026




A pebble painted on a bright Saturday can look tired by February. The paint lifts at the edges, the colours go chalky, and a green tinge settles into the brush marks. It is rarely the paint's fault. British weather works on stone in a way a windowsill never does — rain soaking in, frost pushing out, salt air drying on the surface like a rind.
Sealing is the step that decides whether your pebble spends years in the garden or one wet winter in the bin. It takes minutes, costs very little, and the rules are simple once you know them.
Stone is porous. Even a smooth beach pebble holds tiny amounts of water and draws it below the surface. When the temperature drops, that trapped moisture expands as it freezes and pushes against whatever sits on top of it. Paint and varnish are thin films, and they do not stretch far. First comes a hairline crack at the edge, then a flake, then a bare patch.
Add the rest of the British mix — UV that bleaches reds and yellows, rain carrying grit, coastal air heavy with salt, and algae that adores a damp, sheltered stone — and it is easy to see why an unsealed pebble fades so fast. A good finish does two jobs: it keeps water out, and it holds the pigment away from light and air.
The words get used interchangeably, but they do different jobs. A varnish forms a film that sits on the surface. A masonry sealant soaks in and blocks the pores. For painted pebbles you often want both effects: a penetrating first coat, then a film over the top.
The easiest option. Low odour, dries clear, and brushes wash out in water. It is fine for pebbles that live indoors, on a shelf or in a sheltered porch. The film is softer than oil-based finishes and can turn slightly tacky in a warm conservatory, so look for an exterior-grade version if the pebble is going outside.
Tougher, harder and much better outdoors. Solvent-based versions smell strongly, so brush them outside or beside an open window. Some yellow slightly with age, which matters on white pebbles but goes unnoticed on dark ones. Spar, or marine, varnish is formulated for outdoor wood and stays flexible under UV — it is one of the best choices for a garden stone.
These are the impregnating sealers sold for patios and paving. They sink into the stone and block water without leaving a glossy layer, which suits anyone who dislikes the plastic look. Some darken the pebble slightly, so test one first. Used as a base coat beneath varnish, they add real protection.
Cheap and quick, but not weatherproof. In damp air PVA can turn milky, stay tacky or bloom white across the design. Perfectly adequate for a pebble that lives in a box or on a windowsill; a poor bet for the garden.
Whatever you pick, read the tin. If it does not say exterior or suitable for outdoor use, assume it is not.
Touch dry is not the same as cured. A varnish that feels dry to the fingertips may still be soft underneath, and moving a pebble at that stage presses marks into the film that never come out. Full hardness can take days, sometimes longer in a cold shed or a damp utility room.
Signs a pebble is not ready: it feels faintly tacky, it smells of solvent, or a fingernail leaves a dent. Leave it alone. Stacking pebbles while they cure is another common mistake — even a light touch can weld two freshly varnished stones together.
If you live by the sea, treat every pebble as though it is going on a boat. Salt spray is abrasive once it dries, and wind drives sand across stone like fine sandpaper. Give coastal pebbles an extra coat, seal both faces properly, and place them where they catch some shelter rather than full exposure to the prevailing wind.
Frost is the other enemy. Water that has crept into a hairline crack will prise it wider with every freeze. A fully sealed pebble resists this well, but any chip is an open door. Check your pebbles after a hard winter and touch up damaged spots straight away. Raising stones onto gravel rather than pressing them into soil helps water drain away instead of pooling underneath.
A quick routine is all it takes. In spring, rinse your garden pebbles with plain water, let them dry, and give any dull ones a single fresh coat of the varnish you used originally. Keep a small tin and a dedicated brush in the shed so the job never becomes a project. Pebbles that sit indoors need far less attention — a wipe with a soft, barely damp cloth is plenty, and abrasive cleaners should stay well away.
Store your best painted stones in a box with newspaper between them over the coldest months, and bring in any that were always meant to be decorative rather than rugged. Do all of this and the colours you mixed on a bright Saturday will still be sitting in the flowerbed, sharp and clear, several winters from now.
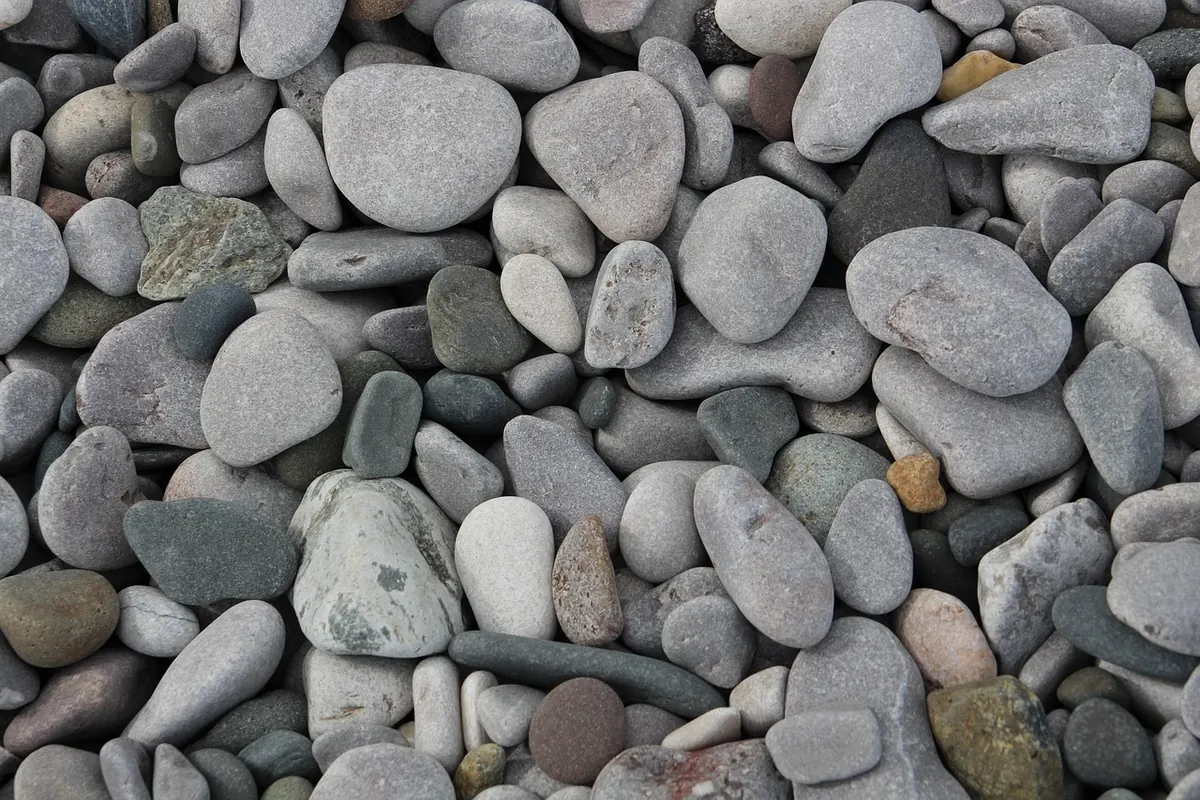
Photo: Ditney / Pixabay

A hive of pebble art and craft inspiration..
Copyright © 2026 Pebble Hive. All rights reserved. Pebble Hive.