October 08, 2026




A painted pebble trail is one of the cheapest, most sociable things a village can do. Twelve people with a bag of stones and a tin of acrylic paint can have something up and running in a weekend, and children will pester their parents to go and check on it.
The trails that last, though, are rarely the ones with the prettiest pebbles. They are the ones where somebody quietly thought about permissions, weatherproofing and who might feel left out. That thinking takes an afternoon.
Walk the village yourself before you ask anyone else to help. You are looking for a loop of about twenty minutes that starts somewhere with parking, a bench or a tearoom — a village hall, a pub, a shop, the church gate. Flat and well surfaced beats picturesque and muddy, especially if you want pushchairs and wheelchairs on the route.
Then decide how the trail will work. There are two broad models:
Most villages end up with a hybrid: a fixed numbered trail through the centre, plus a free-range zone in a park or recreation ground where people can hide and re-hide to their hearts' content. Sketch the route by hand, number the stops, and keep that sketch — it will be the most useful piece of paper in the whole project.
Start with the parish council. Clerks are used to being asked about village projects, and a short email explaining the plan will usually get you a slot at a meeting. After that it depends on the land: the county or district council for verges, play areas and public open space; the landowner for private ground and some footpaths; the church for anything in a churchyard, which often has its own rules about what can be placed near graves.
Be realistic about where painted pebbles do not belong. Nature reserves, Sites of Special Scientific Interest, National Trust land and similar protected sites generally discourage them, and with good reason — paint and moving stones disturb the very habitats those places exist to protect. Land managers also tend to read scattered painted rocks as litter. If you are fundraising or collecting money in any way, ask the parish clerk or take proper advice before you start.
Agree a short set of rules and publish them, so nobody has to be told off later:
Buy your pebbles rather than gathering them. Garden centres, DIY shops and builders' merchants sell bags of smooth decorative stones for very little, and it saves arguments about shingle beaches, dry stone walls and protected sites, where collecting is often restricted or discouraged.
Wash the stones and let them dry completely — paint lifts off a dusty surface. A pale base coat of white or cream acrylic makes everything on top look brighter. Then it is a matter of patience:
Skip glitter, googly eyes and stickers. They shed, they look tatty within a month, and they turn a pebble into litter. Simple, bold shapes and thick outlines survive far better than delicate detail, which vanishes the moment a stone is half-buried in wet grass.
A Facebook group works well for the day-to-day chatter — who found what, where something has gone missing — while a page is better for announcements that need to be seen by people outside the group. Many villages run both. Pick one short hashtag and use it everywhere: on the pebbles, in every post, on the printed map.
Set up the basics before you announce anything:
Post a photograph of the first twenty pebbles so people know what they are hunting for. And say plainly in the group description what the trail is for: it is a village project, not a marketplace.
Rotate the theme monthly to keep people painting: spring wildflowers, garden birds, bees and butterflies, local landmarks, numbers, the alphabet, animals of the parish, favourite book characters. Choose subjects that do not require drawing skill — dots, stripes, spirals, colour blocks and initials all look good and take five minutes.
The details are where inclusivity lives. Plan at least one route that is flat, well surfaced and stile-free, with benches to rest on. Place some pebbles at sitting height so they can be seen and reached from a wheelchair, and mention in your posts where those are. Use bright, contrasting colours; they are easier to spot for anyone with low vision. Avoid religious, political or frightening imagery. Run a quiet midweek session for children who find busy weekend crowds difficult, and write image descriptions alongside your photographs. Never publish a child's full name, school or address.
February is the danger month. The enthusiasm of autumn has faded, a few pebbles have gone missing, and nobody has replaced them. The solution is to appoint a keeper — one or two people who walk the route monthly with a bag of spares and a list.
Pair the upkeep with something social. A painting afternoon in the village hall produces twenty new pebbles and a good hour of gossip; a repair walk ending at the pub does the same for the trail itself. Numbering stones and logging them makes retirement easy: when one is cracked or sun-bleached, it comes home and a new one takes its number.
Twenty stones is enough to start. If the trail is still going in three months, it will have told you what it needs — more of one thing, less of another — and by then there will be a dozen people who care enough to help. That is when a village pebble trail stops being a project and becomes a habit.
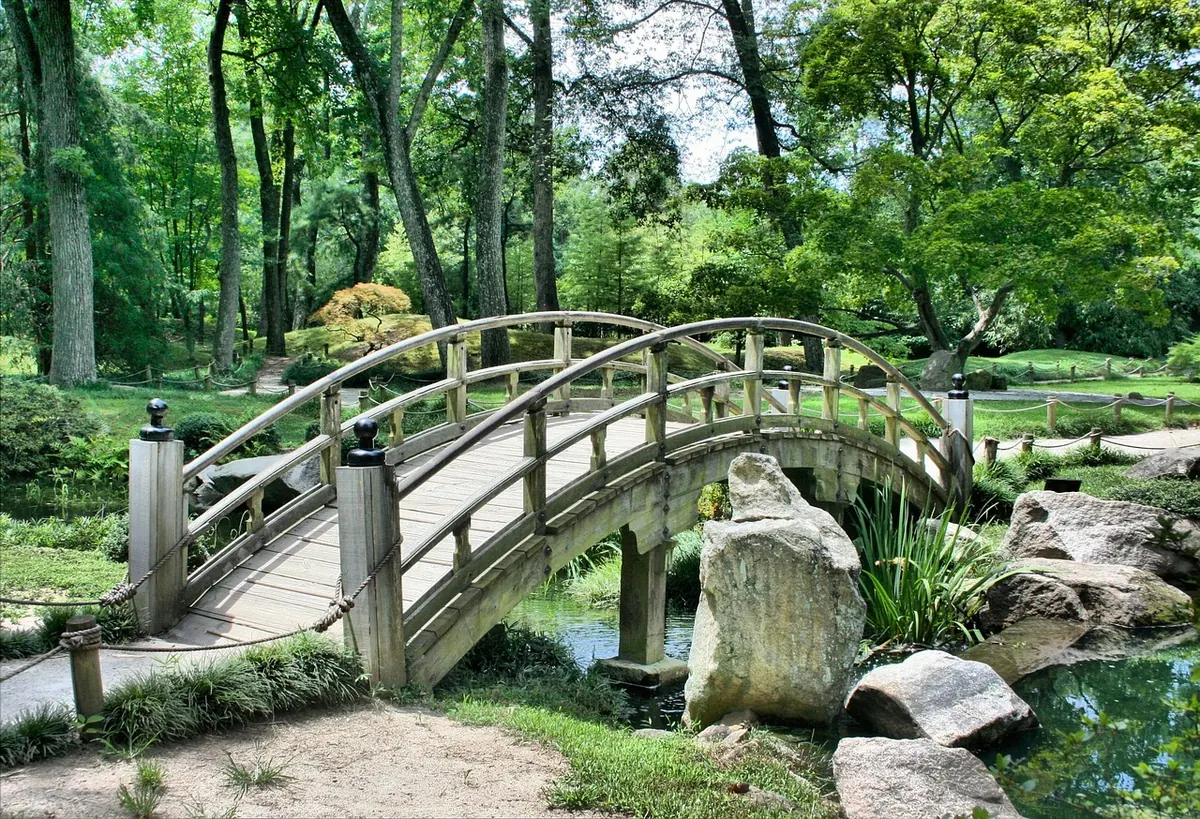
Photo: JamesDeMers / Pixabay

A hive of pebble art and craft inspiration..
Copyright © 2026 Pebble Hive. All rights reserved. Pebble Hive.